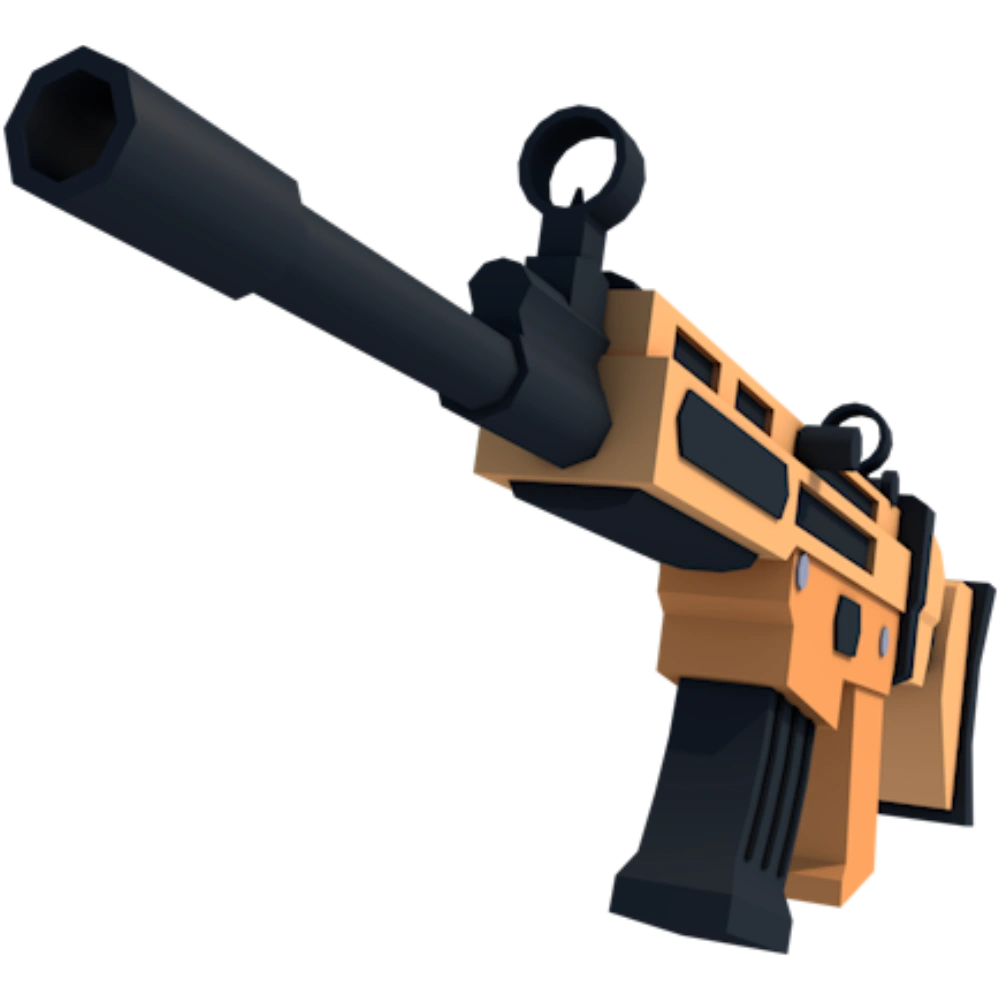

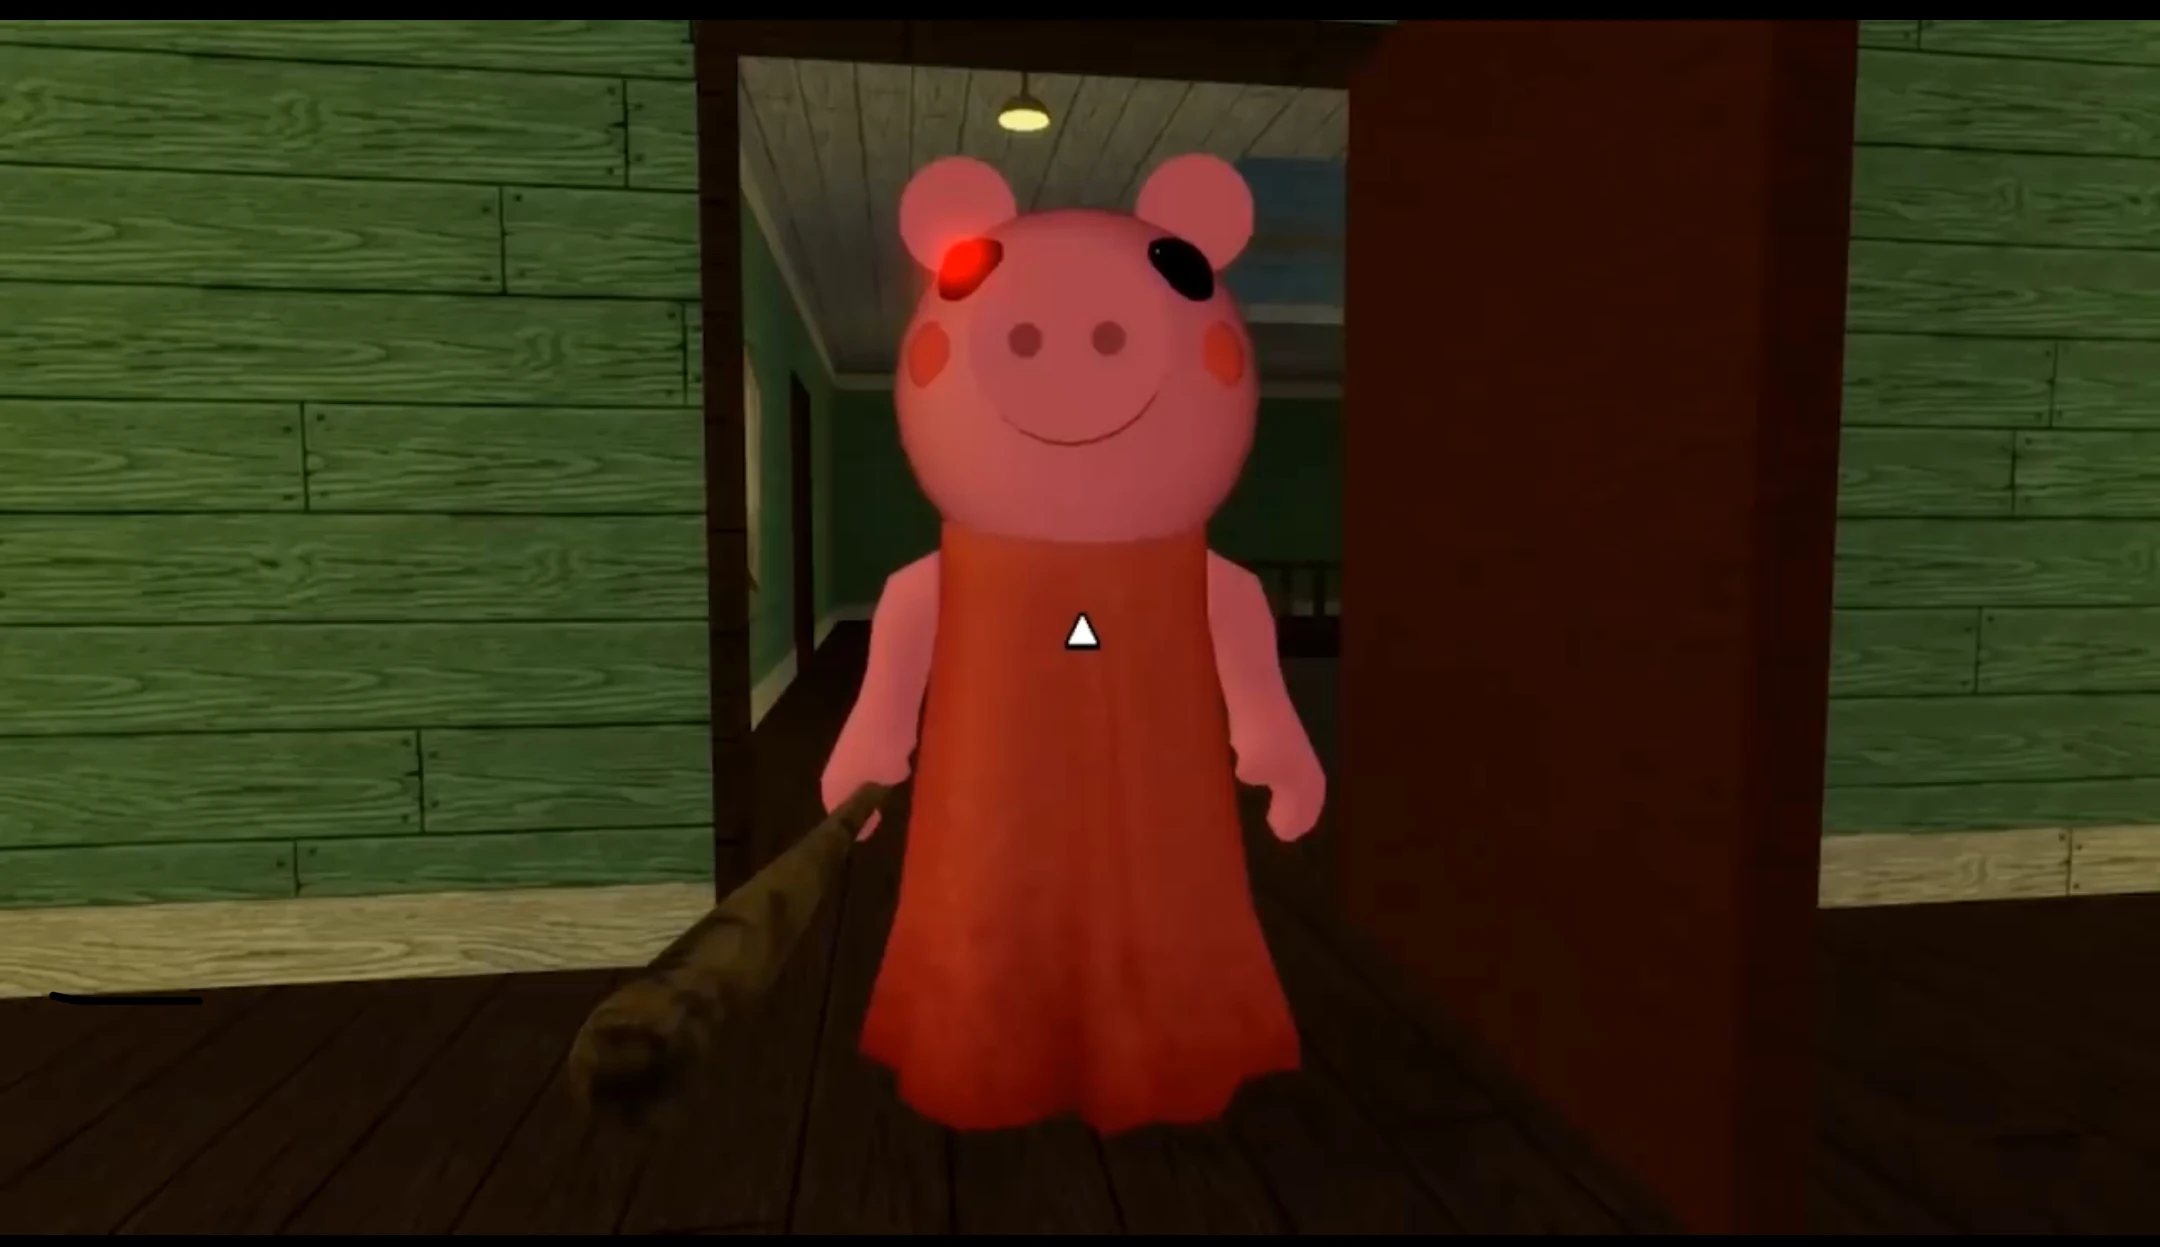
Emerging as a monumental sensation on the global Roblox platform, MiniToon's Piggy represents far more than a conventional survival horror hide-and-seek title. Behind shadowy school corridors, creaking wooden floorboards, and the ominous thud of a baseball bat lies a complex puzzle network, stringent single-item inventory management, calculating killer trap placement matrices, and a tragic narrative requiring survivors to execute intricate multi-chapter triggers across Book 1 and Book 2 to unveil the coveted True Ending.
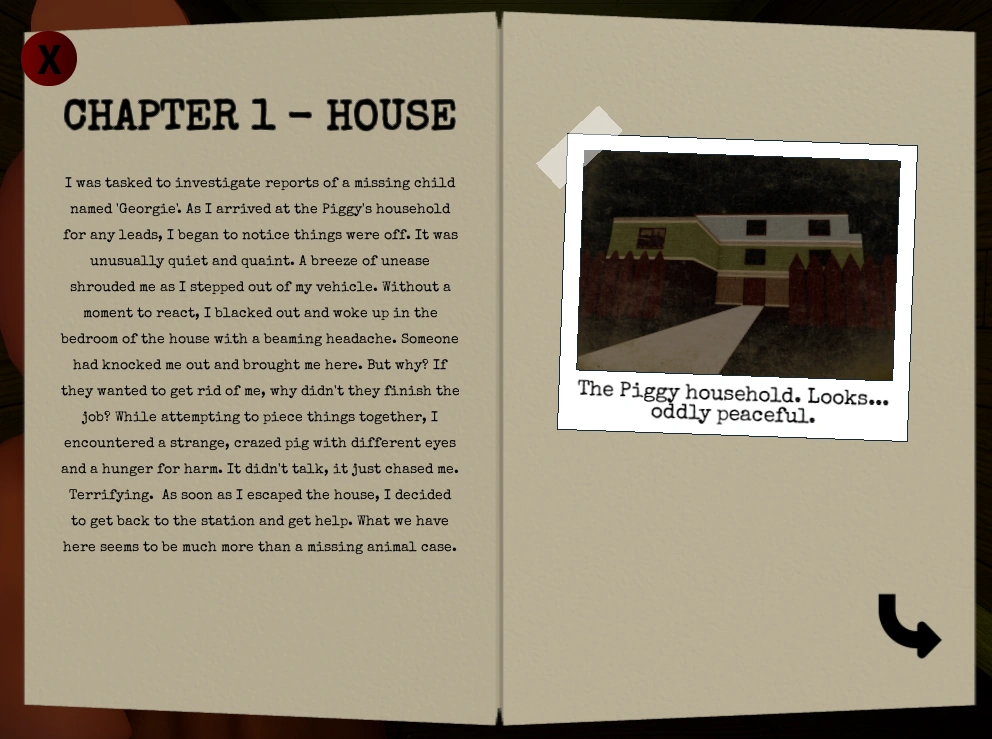
Chapter 1 House - The Origin Point: Where survivors learn sightline manipulation, tight corner looping jukes, and key management under killer pressure.
1. Core Survival Mechanics, Key Taxonomy & Strict Single-Slot Inventory Management
The foundational discipline of Piggy revolves around an absolute mechanical constraint: Every human survivor commands exactly one active item slot. Picking up a Blue Key while holding Bolt Cutters drops the cutting tool instantly on the floor beneath your feet. In high-stakes lobbies where Piggy patrols relentlessly, sloppy item positioning and careless hoarding create game-losing bottlenecks that trap teammates in dead ends. Understanding the physics of item drops and communicating floor coordinates to squad mates form the absolute bedrock of high-level survival play.
The puzzle apparatus across the franchise is categorized into four functional groups:
- Colored Door Keys: Red, Blue, Green, Yellow, Purple, Orange, Cyan, and White keys. Each key pairs strictly with a single lock color code. Inserting a key consumes the item permanently from the active round. Never pick up a key without knowing the exact location of its corresponding door.
- Structural Breach Tools: Bolt Cutters (snapping iron chains), Wrench (rewiring electrical circuits and disabling power grids), Wooden Hammer (prying nails and clearing timber planks), Gasoline & Batteries (fueling escape vehicles or generators). Unlike keys, multi-use tools like the Hammer or Wrench frequently demand two or three separate actions across different map sectors before their utility is exhausted.
- Friendly NPC Rations: Carrots (arming Bunny the Rabbit), Bones (feeding Officer Doggy), Grass (supplying Pony the Horse and Zizzy the Zebra). Feeding an allied NPC prompts them to charge directly into Piggy, inflicting a critical 15 to 20-second immobilization stun that resets killer momentum.
- Defensive Stun Weaponry: Crossbows and Handguns loaded with scattered ammunition rounds. Scoring a direct projectile strike temporarily pacifies Piggy for 20 continuous seconds, opening invaluable escape windows to rescue trapped teammates or dislodge contested items.
| Item / Tool Name | Primary Tactical Purpose | Durability / Reuse | Pickup Priority Tier | Drop Location Management Rule |
|---|---|---|---|---|
| Wooden Hammer | Prying wooden barrier boards across main escape exits | Multi-Use (2 - 3 barricades) | Tier 1 Core Priority | Drop in main central lobby after clearing the first set of boards. |
| Wrench | Rewiring high-voltage breaker panels and automatic gates | Multi-Use (2 circuit boxes) | Tier 1 Core Priority | Never drop in confined dead-end corridors near trap zones. |
| Bolt Cutters | Severing heavy metal chains on exit doors and lockers | 1 - 2 Operations | Tier 2 Tactical Priority | Use immediately upon discovering chains to clear your item slot. |
| White Key | Final locking mechanism on primary exit door | Single Use (Exit Trigger) | Critical Endgame Item | Retrieve only when all boards, chains, and keycards are fully cleared. |
| Keycard | Swiping digital security door sensors | Single Use | Tier 2 Tactical Priority | Swipe immediately, then transition to retrieving subsequent colored keys. |
An indispensable rule in competitive lobbies is the "Central Depot Strategy". When exploring peripheral rooms, players should ferry secondary tools like the Wrench or Hammer to a prominent open crossroads (such as the main foyer table in Chapter 1 or the central fountain in Chapter 3). Centralizing tools prevents frantic searches through 20 separate bedrooms when the final escape countdown ticks below two minutes.
2. Optimized Speedrun Escape Blueprint for All 12 Book 1 Chapters (House to Plant)
Each chapter in Book 1 chronicles the detective investigation of the Player Officer tracking the origins of the mutant contagion across metropolitan, suburban, and industrial ruins. Below is an exhaustive chapter-by-chapter tactical guide designed to achieve clean sub-5-minute escapes under heavy pressure:
Chapters 1 Through 4: Suburban Quarters & Dense Woodlands
Chapter 1 - House: Primary objectives center on the attic, garage, and basement. The Hammer and Blue Gear randomize between upstairs bedrooms and the basement garage. A high-efficiency route involves having one survivor immediately scout upstairs to drop the wooden plank bridging the attic gap, while a second player searches the basement for the wrench to disable the laundry room laser grid. Clear the front door boards early, insert the gears in the garden playhouse, and extract the White Key from the basement safe to secure exit.
Chapter 2 - Station: The police headquarters introduces Officer Doggy. Players must locate the gas can and car key to fuel the squad car parked in the garage. Early priority mandates opening the evidence lockup to acquire the Bone. Handing the Bone to Doggy in the central waiting room unleashes his wooden blade, delivering a crucial 20-second stun on Piggy. Use this respite to solve the upstairs battery sequence and cut the security door circuit.
Chapter 3 - Gallery: A multi-tiered artistic labyrinth. Sever wire-hung paintings using Bolt Cutters to reveal hidden alcoves containing colored Egg relics. Position one player on the second-story catwalk to bait Father Piggy away from ground-floor corridors. Solve the framed canvas sequence in the dining lounge, route the gears to the outdoor courtyard, and pry the rear exit gate.
Chapter 4 - Forest: Expansive outdoor wilderness dotted with rustic wooden cabins. Survivors must coordinate finding the Torch to ignite campfire logs, which in turn melt the ice blocks encasing the White Key. Always travel along peripheral tree lines to avoid ambush chokepoints. Deliver the Carrot to Bunny at the tent camping ground so she can snipe Sheepy, clearing access to the cave tunnel system.
Chapters 5 Through 8: Educational Facilities & Underground Transit
Chapter 5 - School: Symmetric dual-level layout featuring gymnasiums, locker rooms, and an open sewer ditch. Bunny wields her crossbow as an active NPC escort. Keep a continuous supply of Carrots routed to Bunny to shoot down Teacher Piggy, providing uninterrupted windows to collect all textbook items and input the 4-digit numeric code into the yellow school bus exit.
Chapter 6 - Hospital: Atmospheric quarantine clinic guarded by Bear. The layout features dozens of narrow patient cubicles where killers frequently deploy Bear Traps right behind door thresholds. Coordinate finding the three colored Test Tubes to neutralize the central laboratory laser grid. Use the elevator shaft to loop Bear vertically, prying basement boards to unlock the ambulance bay.
Chapter 7 - Metro: Derelict train terminal serving as the central escape artery. Collect the Lighter to illuminate submerged sewer corridors, pull track junction electrical levers, and refuel the locomotive engine. When the subway train activates, it smashes through reinforced track barriers, creating the primary avenue of evacuation.
Chapter 8 - Carnival: Wide-open amusement park featuring target shooting games, circus tents, and roller coaster scaffolds. Players must utilize the hammer on the strength tester bell to dislodge keys. Clowny patrols with a broad sledgehammer swing radius. Use the carnival cages and the elevated rollercoaster tracks to execute safe jumping loops while collecting circus tokens.
Chapters 9 Through 12: Urban Ruins & The Industrial Genesis Facility
Chapter 9 - City: The crumbling metropolis where Mrs. P vanished. Rescue Pony inside the laundromat so he can cleave down infected patrol soldiers with his wooden broadsword. Crucially, this chapter houses Mr. P's Family Photo behind the purple vehicle in the side alley, which serves as the non-negotiable prerequisite to unlock the True Ending in Chapter 12.
Chapter 10 - Mall: Three-story commercial shopping complex featuring active escalators and surveillance laser sensors. Robby the motorized maintenance robot wields a lethal buzzsaw with blistering linear speed. Exploit ceiling ventilation shafts and ground-floor air ducts to bypass Robby's patrol path. Collect the crown relics to assemble the rooftop helipad beacon.
Chapter 11 - Outpost: Frozen military citadel blanketed in deep snow. Survivors must plant and detonate explosive TNT barrels to shatter reinforced perimeter blast doors while dodging infected sentry guards. Coordinate tank turret controls to breach the primary hangar bay.
Chapter 12 - Plant: Book 1 climax. Infiltrate the toxic chemical complex, confront Mr. P, and stabilize volatile pressurized gas lines using synchronous lever sequences. Beware the toxic green fumes that rapidly drain survivor vitality without active filtration systems.
3. Unlocking the True Ending: Multi-Stage Protocols for Mrs. P & Tio Boss Cleansing
The canonical True Ending of Piggy cannot be triggered through casual gameplay. It requires a flawless multi-chapter sequence carried out across specific lobby configurations:
Five-Step True Ending Activation Sequence (Book 1 & Hidden Chapter)
Step 1: Clear Chapter 9 (City) on Player + Bot Mode:
Host a dedicated lobby set strictly to "Player + Bot" mode. Solve all city puzzles and escape successfully. During this run, you must collect Mr. P's Family Photo tucked behind the purple automobile in the back alleyway. Storing this item registers the hidden flag into the active session memory.
Step 2: Carry the Photo into Chapter 12 (Plant):
Queue into Chapter 12 (Plant) on Bot or Player + Bot mode. When all locks are cleared from the primary exit gateway, DO NOT EXIT. Carry Mr. P's Family Photo through the toxic fumes into the hidden laboratory where Mr. P stands mourning.
Step 3: Present the Photo & Redeem Mr. P:
Interact with Mr. P's cyborg model while holding the photo. An emotional cutscene triggers as Mr. P awakens to the grief and horror caused by his desperate search for a cure. Unlocks the prestigious "Savior Ending" badge.
Step 4: Enter The Temple (Hidden Chapter) to Face Tio:
With the Savior badge registered, access the dimensional rift leading into The Temple (The Insolence Realm) to confront Tio, the shadow mastermind manipulating the contagion.
Step 5: Solve the Tio Boss Fight Light Puzzle:
Weapons cannot harm Tio directly. Dodge shadowy tentacles sprouting from floor tiles, collect ancient arcane scrolls, and solve four coordinate light pedestals across the chamber to cleanse Penny's spirit and restore peace to the Piggy universe.

Final Boss Encounter with Tio (The Insolence): The pinnacle test of spatial evasion, light puzzle decoding, and team communication in the Piggy franchise.
4. Authoritative Visual Trap Matrix Board & Killer Utility Tier Rankings
When playing as the Infected Killer, trap selection and spatial deployment dictate 70% of round victory. Below is the visual ranking matrix of all killer traps, evaluated by capture duration, concealment efficacy, and ability to lock down primary escape routes.











5. Eight Meta-Defining Survivor & Killer Team Deck Formations (Deck Board)
Triumph in Piggy demands clear role allocation between dedicated kiters, puzzle decoders, and combat escorts. Below are eight optimized team compositions for both factions:
Sub-3-Minute Chapter Speedrun Dream Team
 Crossbow Sniper
 Melee Escort
 Fencing Duelist
 Obstacle Breaker
 Kiting Decoy
 Logic Decoder
At spawn, George Piggy utilizes his minuscule character model to run directly toward Piggy, initiating tight table loops in the central foyer. Simultaneously, puzzle decoders supply Bunny and Zizzy with rations. Bunny delivers a 20-second crossbow stun, triggering two squads to diverge: squad one clears ground-floor color locks, while squad two pries upper-level planks, securing a sub-180-second exit unlock.
True Ending & Tio Boss Purification Squad
Insolence Overlord
Redeemed Ally
Awakened Spirit
Photo Guardian
The Penitent
Blade Vanguard
The player carrying Mr. P's Family Photo travels in protected formation between Pony and Zizzy. In Plant Chapter 12, Willow shoots down patrolling infected guards, creating a 15-second window for the photo bearer to approach Mr. P. Inside The Temple, the team fans out clockwise, activating all four light pedestals while evading Tio's tentacles, triggering the emotional family reunion.
Chokepoint Lockdown Killer Deck (Piggy Mastery)
Primary Hunter
Vortex Singularity
Instant Gateway
Slime Perimeter
Sensor Beacon
Autonomous Crawler
During the initial 15-second spawn dispersion, Piggy plants the Black Hole Trap before the primary exit staircase and anchors a Teleport Trap on the upper landing. An Alarm Trap covers the White Key safe room. When the alarm sounds, Piggy steps into the teleporter, materializing directly behind the intruder and landing an unmissable strike.
Distraction Kiting & Loop Juking Squad
Apex Looper
Corner Savior
Crossbow Sentry
Ammo Supplier
Rapid Courier
Door Breaker
George hugs 90-degree corners around large obstacles like the Gallery bar or dining tables. Thanks to his smaller bounding box, he corners tighter than Piggy, maintaining separation. If George is cornered, Bunny snipes from 10 meters out, delivering an instant rescue stun that resets the kiting loop indefinitely.
Stun Chain Sentry Lockdown Deck
Crossbow Stun 1
Pistol Stun 2
Sword Stun 3
Blade Stun 4
Fencing Stun 5
Logistics Anchor
Survivors stockpile ammunition and rations at a central depot. When Piggy approaches, Bunny fires stun 1 (20s). At second 19, Doggy delivers stun 2 (20s), followed sequentially by Pony, Zizzy, and Willow. This 100+ second lock leaves the killer helpless while teammates systematically strip every lock on the map.
Plant Chapter 12 Toxic Hazard Containment Deck
Chief Engineer
Duct Infiltrator
Corridor Guard
Safety Breaker
Vanguard Scout
Story Target
In Chapter 12, gas chambers inflict continuous percentage health loss. George crawls through narrow vents to unlatch doors from within, allowing Pony to insert the battery powering ventilation fans. Mr. P and Willow synchronize pulling three pressure levers simultaneously, deactivating the core containment field.
Stealth Ambush & Shadow Teleport Killer Deck
Spectral Phantom
Shadow Step
Group Snare
Under-Bed Ambush
Escape Severer
Executioner
Operate the Laura skin or silent-step perks. By avoiding creaking tiles and extinguishing flashlight glints, Piggy closes within 5 meters undetected. As a survivor halts to interact with a safe, trigger the Crawling Trap from under furniture, stepping out of the shadows to deliver an uncounterable execution strike.
Beginner-Friendly Foundation Survival Deck
Trusted Comrade
Scouting Runner
School Savior
Laundromat Escort
Practice Target
Investigation Goal
Novices must always travel in pairs. One player searches for keys while the second acts as a lookout on stairways, monitoring audio cues and terror radius themes. Avoid hiding in closets for more than 10 seconds. When pursued, retreat directly toward Doggy and feed him a bone for an instant rescue stun.
6. Master Looping Jukes, Audio Footstep Calculations & Camera Panning Tactics
The metric separating beginners from elite survivors is loop juking efficiency and third-person camera management. In competitive settings, survivors must consistently maintain maximum distance while manipulating the killer's movement momentum across geometric boundaries.
In Piggy, base running speeds between Survivors and Piggy on straight paths are nearly identical: Survivors sprint at approximately 16 studs per second, while Piggy maintains a modest advantage at 16.5 studs per second. However, Piggy commands a larger character model volume and a wider turning radius. On Roblox's standard 60Hz physics tickrate with network latency ranging between 40ms and 100ms, spatial calculation becomes paramount. Master these advanced mechanical maneuvers:
-
Tight Geometry Corner Cuts:
When rounding 90-degree pillars or rectangular furniture items (such as dining tables in Chapter 1 or marble pedestals in Chapter 3), tilt your camera 45 degrees downward and hug the collision mesh tightly. Due to your smaller bounding box, you travel approximately 2 studs less per corner than Piggy. Over three consecutive tight corners, this accumulates a 6-stud lead, effectively negating Piggy's 0.5 stud/second velocity advantage. -
The Double-Back Juke & Latency Exploitation:
When trapped in a dead-end corridor with Piggy bearing down within 2 studs, suddenly snap your camera 180 degrees and sprint directly past Piggy's left shoulder as the bat raises. Due to the 0.35-second swing animation and frontal cone hit registry, slipping past their flank causes the strike to whiff into empty air. On server tickrates, the killer's client prediction will strike where you were 50 milliseconds prior, missing your true position completely. -
Terror Radius Acoustic Awareness:
Audio volume scales by proximity across three distinct sound stages: Stage 1 (Beyond 25 meters) presents faint ominous strings; Stage 2 (Under 15 meters) accelerates into frantic rhythmic percussion; Stage 3 (Under 7 meters) introduces distinct guttural wheezing breathing. Never wait until visual contact to begin your escape route; initiate tactical disengagement the instant Stage 2 audio percussion commences. -
Third-Person Corner Peeking (Camera Panning):
Rotate your camera angle around doorframes while keeping your survivor model concealed behind the drywall. This grants a full 180-degree field of view into the adjoining corridor without exposing your character model to Piggy's direct line of sight.
7. High-Tier Killer Blueprint: Strategic Chokepoint Defense & Total Server Wipes
The greatest pitfall for players cast as Piggy is fixating on chasing a single elusive survivor, allowing the remaining five to solve all locks uninhibited. Master killers practice "Strategic Chokepoint Defense":
- The Golden Trap Triangle: Always retain one trap for the final exit door, one for the primary staircase landing, and one guarding the White Key safe or Bolt Cutters room. This creates an inescapable perimeter where survivors must risk capture to complete mandatory objectives.
- Blind Stairway Trapping: Plant traps just below the top stair riser or behind blind doorway drops. Survivors running down stairs have their downward vision obscured by flooring geometry, stepping onto traps before their jump input can register on the client.
- Ditching Looper Bait: If a survivor circles tables repeatedly to burn your time, disengage instantly. Your primary targets are the silent players holding keys near the exit perimeter. Forcing puzzle solvers off tasks completely halts game progression.
- Backward Movement Concealment: Advanced killers walk backward when approaching blind corners. Because weapons stick forward, walking forward telegraphs your approach around doorframes. Walking backward conceals weapon geometry until you round the corner for an instant surprise swing.
8. Fatal Progression Errors in Puzzle Solving & Preemptive Countermeasures
Five Game-Losing Blunders That Sabotage Escape Runs
1. Item Hoarding in Obscure Corners: Grabbing keys without immediately unlocking their respective doors causes critical items to vanish into obscure corners. Rule: If you pick up a tool or key, travel directly to its designated lock before pursuing secondary tasks.
2. Extended Closet Camping: Wardrobes only break line of sight when Piggy is beyond 25 meters. Diving into a closet while Piggy sees your silhouette results in an immediate cornered death.
3. Premature Gun Discharge: Wasting ammunition during non-critical phases. Save bullets exclusively for rescuing a cornered teammate or buying 20 seconds to clear the final White Key.
4. Trailing Pursued Teammates: Never run directly behind a teammate being chased by Piggy. Traps laid along the chase path will ensnare you instead.
5. Blind Doorway Charging: Rushing through door thresholds without scanning the floor causes 80% of trap deaths. Habituate jumping over every doorway frame.
9. Technical Masterclass FAQ: Ten Crucial Competitive Inquiries Answered
Question 1: How can you distinguish Piggy Bot from a Piggy Player in-game?
Piggy Bot adheres to fixed pathfinding waypoints, turns with mechanical smoothness, cannot jump, and follows closest line-of-sight targets relentlessly. A Piggy Player jumps, places strategic traps at chokepoints, walks backward to conceal their weapon, and abandons loopers to camp exit doors.
Question 2: Is it possible to jump over a Bear Trap without triggering it?
Yes. Timing your jump 2 studs before the trap rim and peaking over the opposite edge clears the hitbox safely. However, Black Hole and Alarm traps have large spherical trigger fields that cannot be jumped.
Question 3: How do you unlock the secret Tio skin in Book 2?
You must possess the Book 1 Savior badge, clear all 12 Book 2 chapters, locate all Hidden Pages, and defeat Tio in The Temple hidden chapter without suffering a single death.
Question 4: What is the single best trap to purchase first with Piggy Tokens?
The Black Hole Trap (675 Tokens) offers the highest competitive value. Its ability to pull multiple survivors simultaneously and lock them for 6.5 seconds guarantees eliminations.
Question 5: Which NPC provides the longest immobilization stun on Piggy?
Bunny with her crossbow and Zizzy with her rapier both deliver a full 20-second stun when supplied with their preferred rations, equivalent to a direct handgun projectile.
Question 6: Why did bringing the family photo to Plant fail to trigger True Ending?
You must have cleared City beforehand on Player + Bot mode and collected the photo within that exact lobby session. Switching servers or clearing on pure Bot mode invalidates prerequisites.
Question 7: Can survivors survive the Chapter 12 gas chamber without an oxygen mask?
No. Toxic fumes deplete 15% health per second. A teammate must activate the filtration valve to clear the room before entry.
Question 8: How do you make Piggy footsteps louder in the audio mix?
In Roblox Settings, reduce Music Volume to 20% while maxing SFX Volume to 100%. This isolates footsteps and trap arming clicks from distant rooms.
Question 9: Are key spawn locations fixed in every chapter?
No, item spawns randomize across 15 to 20 potential locations per map, though items distribute evenly across upper and lower sectors.
Question 10: Should you prioritize unlocking the main exit or the armory in Chapter 2 Station?
Always prioritize the armory and freeing Doggy. Having Doggy available to stun Piggy makes subsequent key hunting significantly safer.
10. Strategic Summary & The Psychology of Coordinated Cooperative Survival
The Piggy universe on Roblox tests situational awareness, spatial memory, and team composure. Whether surviving in the shadows or hunting behind doorways as an infected predator, calm execution and calculated movement determine the outcome.
Hone your loop juking mechanics, memorize key layouts across Book 1, equip Black Hole Traps when hunting, and complete the True Ending sequence to restore light to Piggy's world. The exit door awaits!