
All Star Tower Defense Unit Tier List: Visual Power Matrix for Story, Infinite & Gauntlet Modes
Within Roblox's premier anime tower defense colosseum, All Star Tower Defense (ASTD), assembling and commanding optimal unit rosters represents the decisive line between a premature collapse at Wave 60 and monumental triumphs across Infinite Mode Wave 150+, Gauntlet Trials, and global leaderboards. Spanning an expansive compendium of over 900 anime warriors across 3-Star to 7-Star eras, the evolving meta demands absolute mastery over effective damage-per-second (DPS), attack cooldowns (SPA), area-of-effect (AoE) coverage, and synergistic Orb augmentations. Below is the verified meta matrix, 8 tactical combat decks, and 25 expert technical FAQs engineered for discerning defenders.
1. Meta Evaluation Philosophy: The Three Foundational Performance Pillars
Unlike superficial tower defense titles that assess unit potency solely through arbitrary sheet damage numbers, All Star Tower Defense operates under complex multi-tier combat dynamics. To establish whether a unit commands Tier Z+, Tier Z, or situational ratings, Seamou Studio enforces three rigorous technical performance pillars:
Pillar 1: Effective Damage Per Second (Effective DPS)
Astronomical single-hit raw damage coupled with long attack cooldowns (SPA spanning 10 to 15 seconds) invariably allows high-velocity speedster mobs to slip through perimeter defenses. True effective DPS is calculated via:
Defenders commanding rapid attack cooldowns between 2.0s and 5.0s maintain relentless suppression, completely eliminating the hazard of catastrophic lane overflows.
Pillar 2: Area-of-Effect Footprint & Target Geometry
In dense late-game mob swarms past Wave 100, single-target combat profiles are utterly obsolete. The competitive hierarchy categorizes four distinct AoE footprint geometries:
- Full Map AoE: Strikes all active lane occupants irrespective of positional coordinates, epitomized by Gojo Satoru and Airren Doomsday.
- Full Circle AoE: Delivers 360-degree radial annihilation covering multi-lane switchbacks.
- Wide Cone AoE: Projectile arcs blanketing broad approach lanes.
- Line AoE: Linear rail strikes piercing infinite mob stacks on straight paths.
Pillar 3: Status Infliction & Percentage Health Shred (% Max HP)
At Wave 130 and beyond, world raid bosses scale into tens of billions of health points. Flat arithmetic damage scaling cannot outpace boss velocity. The following debuffs dictate squad survival:
- Global Timestop Freeze: Suspends hostile entity kinematic vectors and cooldowns for 6 to 8 seconds.
- Bleed & Burn Damage-over-Time: Strips fixed percentages of total boss health per tick.
- Hyper Slowdown Modifiers: Enforces 60% to 80% movement velocity penalties across incoming waves.
2. Visual Tier List Matrix Board
Below is the comprehensive visual power matrix categorizing the premier defenders commanding All Star Tower Defense. Each unit card provides authentic portrait artwork, standardized scoped reference linking, certified wiki statistics, and optimal orb pairings.
3. Comprehensive Technical Spec Table: Top 25 ASTD Units
Below is the comprehensive empirical benchmark table compiled from official Fandom Wiki records, enabling data-driven team composition and orb selection:
| Unit Designation (Scoped Reference) | Star Rarity | Effective Max DPS | SPA Cooldown | AoE Geometry & Range | Element | Recommended Orb | Strategic Role |
|---|---|---|---|---|---|---|---|
| Gojo Satoru (7-Star) |
7-Star | 17,540 | 4.0s - 5.0s | Full Map AoE | Fire | Blue Eye Orb | Arena-Wide Timestop & Air Unit Interceptor |
| Ryomen Sukuna (7-Star) |
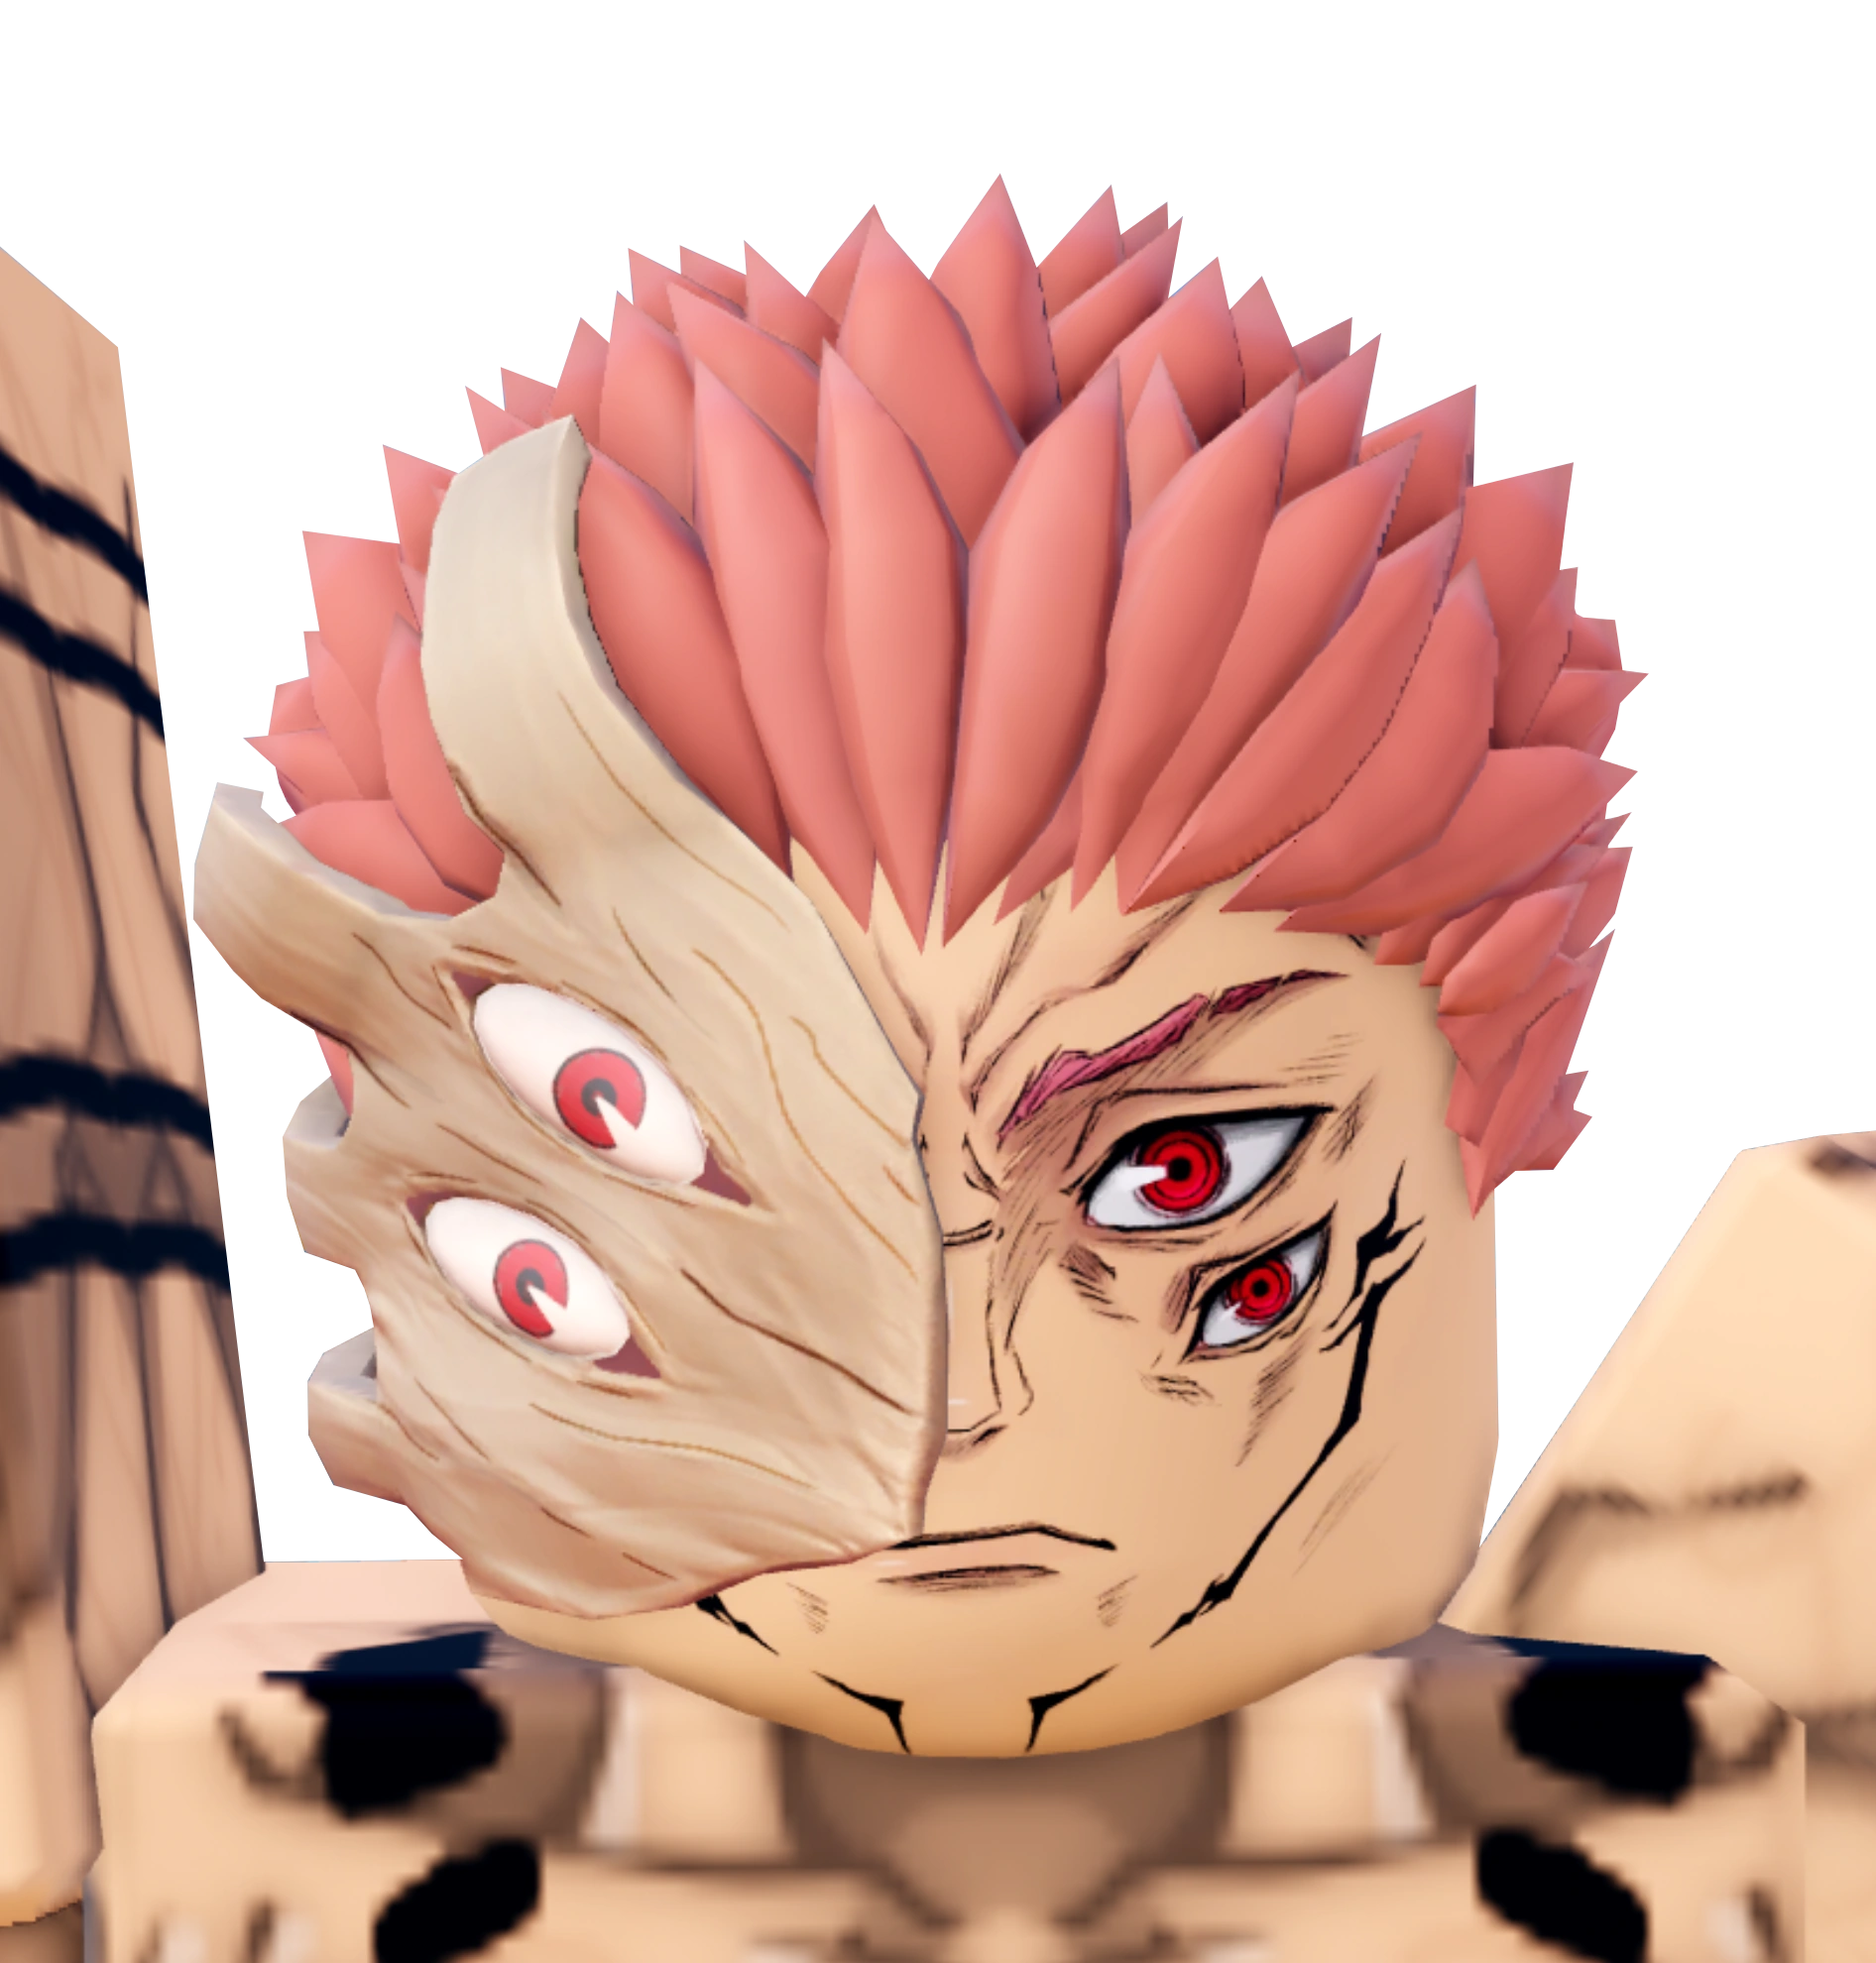
7-Star | 6,388,235 | 5.0s - 8.5s | Circle AoE (180m) | Fire | Fire Orb | Percentage Max HP Shred & Colossal Boss DPS |
| Airren Eren Doomsday (7-Star) |
7-Star | 88,556 | 7.75s | Full Map AoE | Dark | Cost Orb | Catastrophic Seismic Nuke Wave Cleanser |
| Vegeta Ego Ascension (7-Star) |
7-Star | 18,786,666 | 4.0s - 7.5s | Shockwave Circle (110m) | Dark | God Orb | Progressive Scaling Singletarget Boss Destroyer |
| Ultra Koku & Vegu 2 (7-Star) |
7-Star | 12,450,000 | 3.5s | Full Cone Shockwave (95m) | Light | Golden Orb | Ultra-Rapid Continuous Hybrid Bombardment |
| Naruto Baryon Mode (7-Star) |
7-Star | 14,200,000 | 3.0s | Nuclear Core Blast (85m) | Fire | Fire Orb | Armor Degradation & Thermonuclear Cleansing |
 Meruem Awakened (6-Star)Gems: 50x Gems / Triệu HồiStardust: 50x - 500xTướng tháp thủ Vua Kiến (Thức Tỉnh) (Ant King (Awakened)) phẩm cấp 7-Star trong All Star…Click to View Full Wiki Profile → |
6-Star | 5,583,333 | 2.0s - 12.0s | Radial Shockwave (100m) | Dark | Black Hole Orb | Takedown-Scaled Output Escalation |
| Speedwagon Fortune King (6-Star) |
6-Star | +15,000 Cash | Wave Cadence | Non-Combat Unit | None | Hawk Orb | Infinite Financial Engine Sustaining 7-Star Upgrades |
| Unohana Blood Queen (6-Star) |
6-Star | 45,714 | 3.5s | Blood Sea Circle (70m) | Water | Death Orb | Base HP Restoration & Continuous Boss Bleed |
| Blackbeard Timeskip (6-Star) |
6-Star | 25,454 | 5.5s | Darkness Vortex (65m) | Dark | Gravity Orb | 60% Movement Reduction Anchoring Fast Runnners |
| Asta Demon Arm (6-Star) |
6-Star | 36,904 | 4.2s | Cleaving Cone (60m) | None | Darkness Orb | Universal Armor Piercing & Barrier Destruction |
| Bulma Tycoon (5-Star) |
5-Star | +2,500 Cash | Wave Cadence | Non-Combat Unit | None | Hawk Orb | Early Economic Catalyst from Wave 1 |
4. Orbs Mastery System: Core Augment Mechanics & Synergy Protocol
In high-level All Star Tower Defense engagements, deploying a Tier Z+ unit without a tailored Orb reduces combat efficiency by more than 50%. Orbs function as catalyst cores amplifying damage ceilings, extending engagement radii, discounting capital expenditure, or granting game-breaking secondary debuffs. Master the following 8 fundamental orbs:
Blue Eye Orb (+40% Attack Range)
Expands attack range radius by 40%. The absolute non-negotiable pairing for Gojo SatoruGems: 50x Gems / Triệu HồiStardust: 50x - 500xTướng tháp thủ Kẻ Mạnh Nhất Gojo Satoru (The Strongest One) phẩm cấp 5-Star trong All…Click to View Full Wiki Profile → to ensure his Unlimited Void domain encompasses all primary and secondary lane junctions.
Fire Orb (+150% Fire Damage)
Elevates fire-affinity base damage by 150% while initiating a secondary Burn status stripping 5% total mob HP every 2 seconds.
Cost Orb (-25% Global Upgrade Cost)
Reduces baseline placement fees and subsequent upgrade tiers by 25%. Indispensable when deploying resource-heavy titans like Airren Doomsday.
Death Orb (2x Bleed Stacks)
Doubles active Bleed damage stacks while prolonging status duration to 12 consecutive seconds.
5. The 8 Visual Tactical Combat Decks
In premier game modes such as Infinite Wave 150+, Extreme Raids, and Gauntlet Trials, match outcomes hinge upon seamless inter-unit synergy across all 6 deck slots. Below are the 8 verified strategic combat decks formatted as interactive Team Deck Cards:
Apex Infinite Mode Wave 150+ Deck





Boss Shredder Gauntlet & Raids Deck



Story Mode Speedrun Deck
 Meruem 6-StarGems: 50x Gems / Triệu HồiStardust: 50x - 500xTướng tháp thủ Vua Kiến (Thức Tỉnh) (Ant King (Awakened)) phẩm cấp 7-Star trong All Star…Click to View Full Wiki Profile →


Perma-Freeze & Timestop Stun Deck
 Meruem with Black HoleGems: 50x Gems / Triệu HồiStardust: 50x - 500xTướng tháp thủ Vua Kiến (Thức Tỉnh) (Ant King (Awakened)) phẩm cấp 7-Star trong All Star…Click to View Full Wiki Profile →
True % Max HP Bleed & Burn Deck
Co-op Hyper-Economy Cash Deck
Anti-Air & Elemental Shield Buster Deck

F2P Starter Meta Deck (Zero 7-Star Requirement)
Meruem 6-StarGems: 50x Gems / Triệu HồiStardust: 50x - 500xTướng tháp thủ Vua Kiến (Thức Tỉnh) (Ant King (Awakened)) phẩm cấp 7-Star trong All Star…Click to View Full Wiki Profile →6. Cash Flow Economics & Liquidity Management Blueprint
In All Star Tower Defense, financial liquidity is the ultimate battlefield engine. Even defenders commanding full 7-Star rosters will suffer rapid collapse if their wave-by-wave cash velocity falters prior to unlocking final skill tiers. Adhere to these fundamental economic tenets:
The Economic Handoff: Bulma Wave 1 -> Speedwagon Wave 10
Novice defenders frequently commit the critical error of deploying Speedwagon on Wave 1. With a 1,000 Cash deployment cost and a 2,500 Cash Tier 1 upgrade barrier, Speedwagon's early return on investment (ROI) is far too slow across opening waves. Execute this validated transition:
- Waves 1 through 5: Deploy Bulma 5-Star
Gems: 50x Gems / Triệu HồiStardust: 50x - 500xTướng tháp thủ Bellma (Tập Đoàn Tài Phiệt) (Bellma (SUPER Money Corp)) phẩm cấp 5-Star trong…Click to View Full Wiki Profile → at a negligible 400 Cash cost. Advance Bulma to Tier 3 to harvest 1,200 Cash per wave cadence. Deploy 1 cost-effective early carry like Ichigo to eliminate stray runners.
- Waves 10 through 20: Upon accumulating 10,000 Cash from Bulma yields, deploy 4 Speedwagon 6-Star
Gems: 50x Gems / Triệu HồiStardust: 50x - 500xTướng tháp thủ Speedwagon Thần Tài (User:Fliro76/Sandbox6) phẩm cấp 6-Star trong All Star Tower Defense. Xuất…Click to View Full Wiki Profile → units in succession. Speedwagon's geometric yield scaling quickly surpasses 60,000 Cash per wave, unlocking the multi-million funding required for 7-Star apotheosis.
Payback Period Calculus (ROI Discipline)
Prior to authorizing any farm upgrade, evaluate remaining wave counts. If an upgrade demands 30,000 Cash but yields only an incremental 2,000 Cash per wave, you require a minimum 15-wave operational runway to recoup that capital. Upgrading economic towers at Wave 42 in a 50-wave match represents catastrophic resource mismanagement.
7. Evolution Roadmap & Upgrade Resource Harvesting
Unit evolution represents the singular avenue to elevate foundational characters into god-tier 7-Star entities. To avoid squandering Stardust and rare Evolution Stones, execute the following regimented workflow:
- Accumulate Lower-Star Fodder: Collect requisite 3-Star and 4-Star duplicates through daily Banner Z and Banner X rotations. Preserve at least 5 copies of each entity for fusion recipes.
- Harvest Stones via Weekly Elemental Trials: Dungeon stages cycle daily elemental gates (Fire Mondays, Water Tuesdays, Dark Thursdays, Light Saturdays). Capitalize on weekend multiplier events to secure 50 Mythical Evolution Stones.
- Advance the Monthly Star Pass: Complete daily and weekly mission milestones to attain Star Pass Level 50, collecting exclusive base units and bonus Stardust caches.
- 7-Star Awakening Protocol: Elevate 6-Star bases to maximum Level 175 prior to initiating fusion. This ensures the resulting 7-Star titan retains maximal inherited stats without output penalties.
8. Expert Technical FAQs: 25 Definitive Inquiries Answered
Question 1: What is the proven formula to breach Wave 150+ in Infinite Mode?
Breaching Wave 150 mandates a minimum two-player coordinated synergy: one defender operating perpetual Timestop rotations via Gojo Satoru 7-Star (equipped with Blue Eye Orb) alongside Blackbeard slowdown fields, while the partner operates Sukuna 7-Star and Vegeta Ego for percentage max HP shredding. Flat numerical damage cannot outpace late-game boss scaling without status-based health degeneration.
Question 2: Who currently stands as the definitive strongest 7-Star unit in ASTD?
For all-around offensive damage output, Ryomen Sukuna 7-Star (The Strongest In History) and Vegeta Ego Ascension share apex honors due to eight-figure DPS ceilings and % Bleed status procs. In strategic crowd control and utility, Gojo Satoru 7-Star (The Strongest One) remains completely irreplaceable due to his full-map Unlimited Void freeze.
Question 3: How does the Blue Eye Orb mechanically function and who requires it?
The Blue Eye Orb increases a unit's attack radius by 40%. The primary benefactor is Gojo Satoru (allowing his domain to envelop all hostile lane paths) and Erwin Smith (expanding his damage buffing perimeter across all friendly artillery positions).
Question 4: What strategic significance does attack cooldown (SPA) hold in combat?
SPA (Seconds Per Attack) measures the delay between successive strikes. A unit with 500,000 damage and a 12-second SPA delivers only ~41,666 effective DPS, whereas a unit with 150,000 damage and a 2.5-second SPA outputs 60,000 DPS while preventing high-speed runners from exploiting attack recovery windows.
Question 5: What is the functional distinction between Bulma 5-Star and Speedwagon 6-Star?
Bulma 5-Star features an extremely inexpensive 400 Cash deployment cost and cheap early upgrades, making her ideal for Waves 1 through 10. Speedwagon 6-Star costs 1,000 Cash to deploy and requires heavier capital, but his final tiers produce over 15,000 Cash per wave, serving as the financial engine for 7-Star units past Wave 15.
Question 6: What is the most effective protocol for neutralizing air units (Air Mobs)?
Standard ground defenders cannot target flying enemies. Air interception requires specialized hill or hybrid units such as Ultra Koku, Mihawk, or deploying Gojo 7-Star to freeze air units within the target envelopes of area-of-effect batteries.
Question 7: How are stealth enemies (Stealth Mobs) intercepted and destroyed?
Stealth mobs cannot be directly acquired by single-target tracking. The solution is utilizing full-map area-of-effect strikes like Airren Doomsday's Rumbling or Sukuna's domain. Radial damage hits all entities within the coordinate zone regardless of targeting status.
Question 8: Does the Fire Orb multiplier stack multiplicatively on Sukuna's damage?
Yes. The Fire Orb boosts Sukuna's fire-affinity damage by 150%, escalating his baseline DPS from 6.3M to over 15M, establishing Malevolent Shrine as the most devastating meat-grinder in the game.
Question 9: What is the operational difference between Bleed and Burn debuffs?
Bleed deducts damage scaled to a percentage of the enemy's total maximum health (% Max HP), making it effective against multi-billion HP raid bosses. Burn inflicts continuous damage scaled to the attacking tower's raw damage stat, making it effective for vaporizing dense mob swarms.
Question 10: How can players execute animation canceling during tower activation?
Navigate to game settings, disable Camera Cutscenes, and select Fast Graphics. When triggering active skills on Gojo or Erwin, using keybind shortcuts rather than cursor clicks ensures instantaneous skill deployment without graphical stutter.
Question 11: What is the fastest method to harvest Stardust in ASTD?
Stardust is primarily acquired through three channels: clearing Infinite Mode past Wave 100 (weekly leaderboard payout), achieving monthly Star Pass Level 50 milestones, and completing high-difficulty Gauntlet Trials.
Question 12: Should free-to-play players spend Gems on Banner X or Banner Z?
Newer players requiring baseline economic and utility anchors (Bulma, Ichigo, Blackbeard) should prioritize Banner Z. Once baseline rosters are established, reserve Gems for Banner X when targeted 6-Star and 7-Star fusion materials rotate into the summon pool.
Question 13: What does the placement limit parameter dictate?
Each character possesses a strict deployment limit per match (e.g., maximum 4 Gojo units, 4 Speedwagons, 4 Bulmas). Once this cap is reached, additional units of that type cannot be placed unless existing instances are sold.
Question 14: Does the Cost Orb discount apply to in-game upgrade tiers?
Yes. The Cost Orb discounts both initial placement costs and all subsequent upgrade tiers by 25%, saving hundreds of thousands in capital when building divine-tier towers.
Question 15: Do endgame bosses develop resistance to Timestop at higher waves?
From Wave 140 onward in Infinite Mode, certain elemental bosses gain Stun Resistance, truncating Gojo's 8-second freeze to 3-4 seconds. Combining Gojo with Blackbeard slowdowns and Black Hole vortex gathering is necessary to compensate.
Question 16: Who is the premier economic generator for Story Mode speedruns?
Bulma 5-Star (Bellma Super Money Corp) is the undisputed top choice for Story Mode. Stages conclude before Wave 15, allowing Bulma's low upgrade thresholds to achieve positive ROI by Wave 2, avoiding Speedwagon's early cash deficits.
Question 17: What settings should be optimized to prevent lag during dense Wave 100+ swarms?
In game settings, enable Hide Tower Effects, enable Hide Damage Numbers, and disable environmental shadows. This eliminates CPU and GPU bottlenecks when thousands of mob sprites occupy the lane simultaneously.
Question 18: How massive is the performance chasm between 6-Star and 7-Star units?
The transition from 6-Star to 7-Star represents a generational leap. 7-Star units command 5x to 10x the effective DPS of their predecessors while introducing full-map domain expansions and percentage health execution mechanics.
Question 19: What is the theoretical maximum DPS output for Meruem Ant King Awakened?
Upon compounding 1,500 in-game enemy takedowns, Meruem's tyrant aura multiplies baseline damage by 3.5x, surpassing 19 million radial DPS on a lightning-fast 2.0s attack cooldown.
Question 20: What are the prerequisites to unlock Gauntlet Mode?
Defenders must clear the entire World 1 Story Mode campaign and attain player Level 50. Once met, the Gauntlet portal activates within the central lobby.
Question 21: Is the Hawk Orb mandatory for resource-generating farm towers?
Highly recommended. The Hawk Orb increases wave cash yield by 15% to 25%. Equipped on Speedwagon, it delivers an extra 3,000 to 4,000 Cash per wave, equivalent to fielding an additional secondary farm.
Question 22: What distinct offensive advantage do Dark-element defenders provide?
Dark-element units bypass standard physical mob armor ratings while dealing 25% amplified damage against Light and Mythic attribute hostile units.
Question 23: How do players transfer unit rosters between World 1 and World 2?
Rosters synchronize automatically upon completing World 1 and boarding the World 2 transit vessel. Note that specialized World 2 stages enforce evolution tier entry restrictions.
Question 24: Should players invest Exp Units into leveling tower base stats?
Absolutely. Advancing a unit from Level 1 to maximum Level 175 increases baseline attack values by roughly 80%. Run daily Exp Dungeons to maintain steady fodder supplies.
Question 25: What is the most resilient starter team for entirely free-to-play accounts?
The optimal F2P starter team comprises: Bulma 5-Star (economy), Ichigo 6-Star (early carry), Speedwagon 6-Star (mid-game cash), Blackbeard 6-Star (crowd control), Unohana 6-Star (sustain), and Meruem 6-Star (scaling AoE). This setup clears 100% of Story Mode effortlessly.
9. Executive Summary & The 5 Golden Rules of ASTD Mastery
To maintain apex standing across All Star Tower Defense and prevent wasteful resource allocation, memorize these 5 foundational rules:
- Rule 1: Economy Precedes Artillery - Prioritize maximizing Bulma and Speedwagon before dumping capital into DPS tiers. Capital dictates victory.
- Rule 2: Never Compromise on Crowd Control - Pure damage rosters lacking Gojo Satoru or Blackbeard inevitably crumble to high-velocity sprinters past Wave 80.
- Rule 3: Percentage Health Shred is Immortal - As enemy health reaches billions, only % Bleed procs from Sukuna and Unohana guarantee timely boss takedowns.
- Rule 4: Strictly Align Orbs with Unit Passives - Gojo demands the Blue Eye Orb, Sukuna requires the Fire Orb, and Speedwagon commands the Hawk Orb.
- Rule 5: Maintain Coordinated Cadence - Stagger active skill cooldowns and Timestop triggers to guarantee 100% temporal arena containment.